1 How to Draw in Word with the Shapes Tool2 How to Draw on a Word Document with the Microsoft Word Drawing Tool3 Extra: How to Draw on Google Docs4 Extra: How to Annotate Screenshots with Snip and Sketch
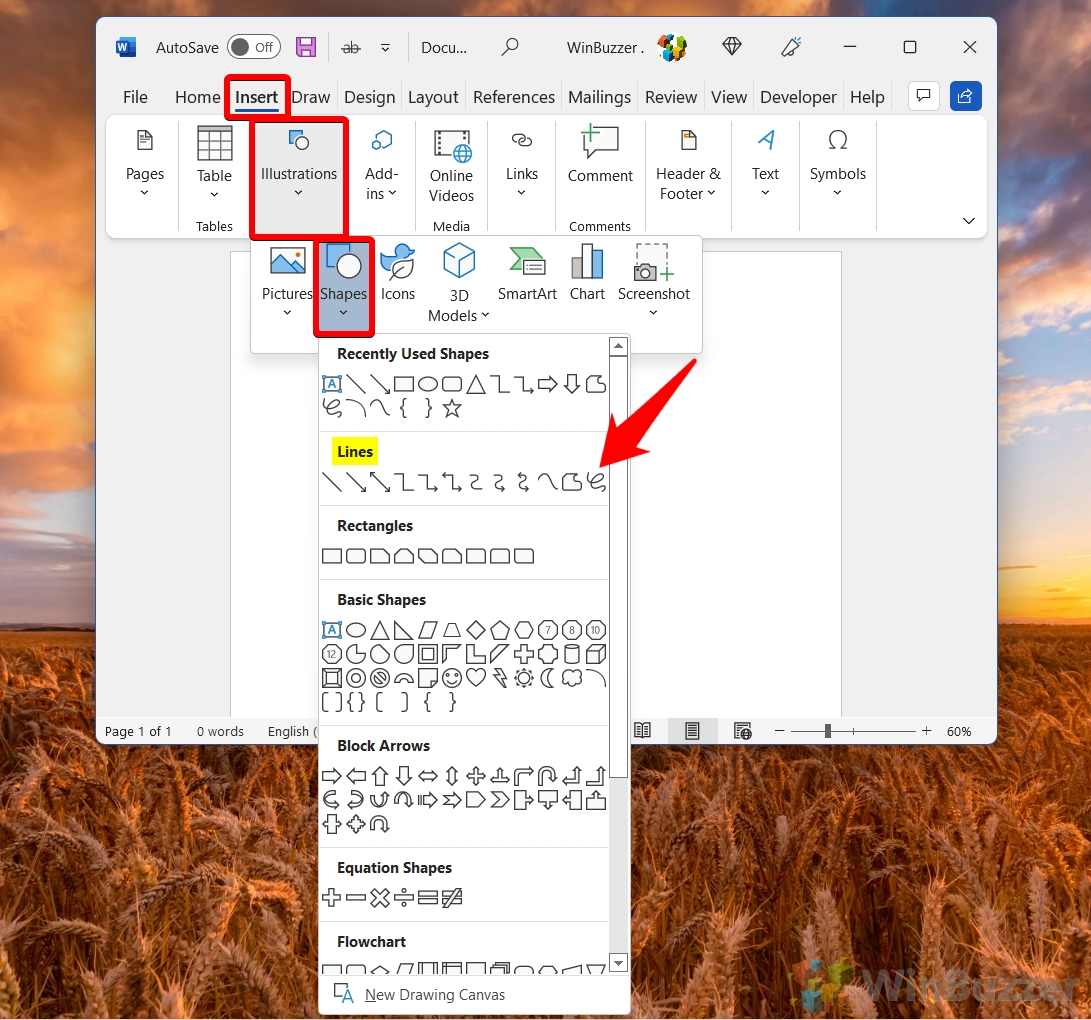
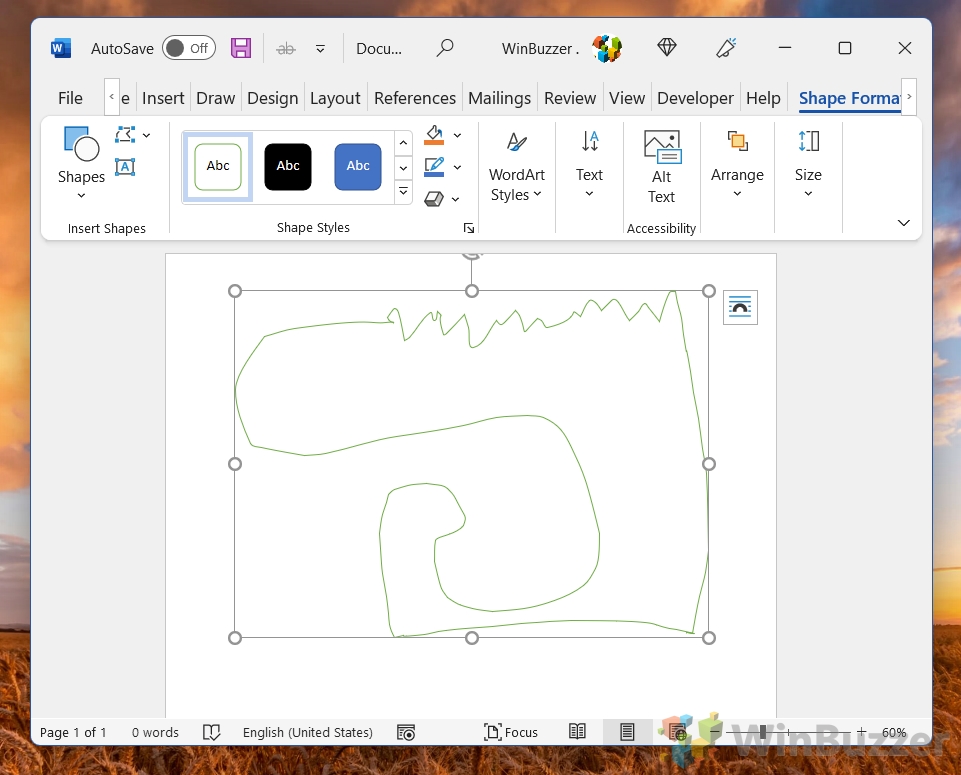
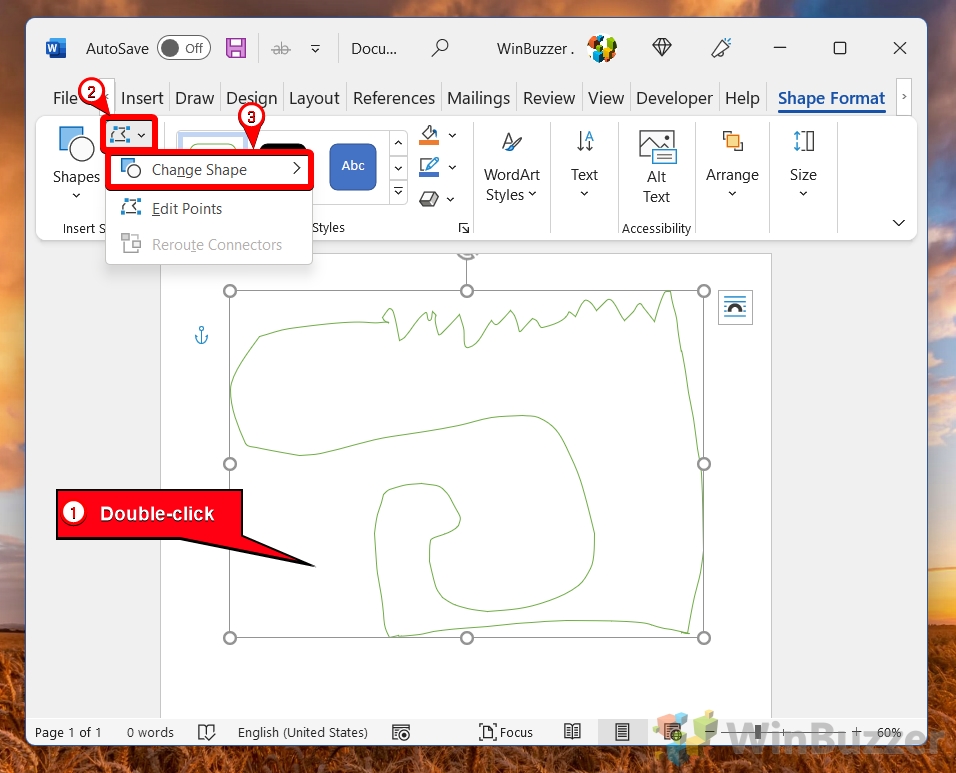
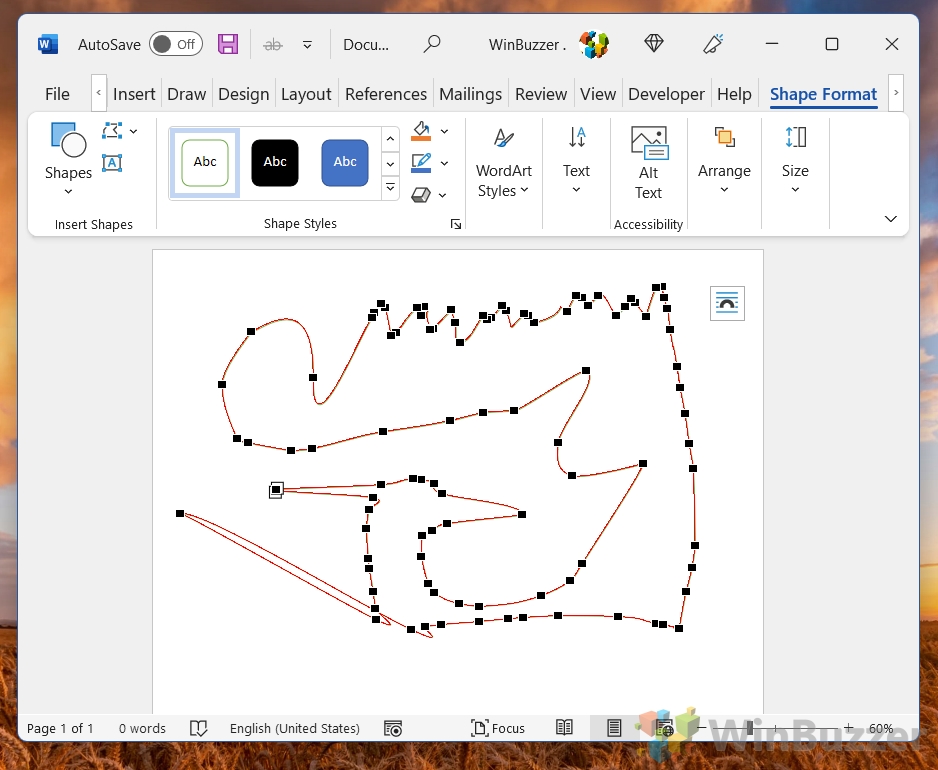
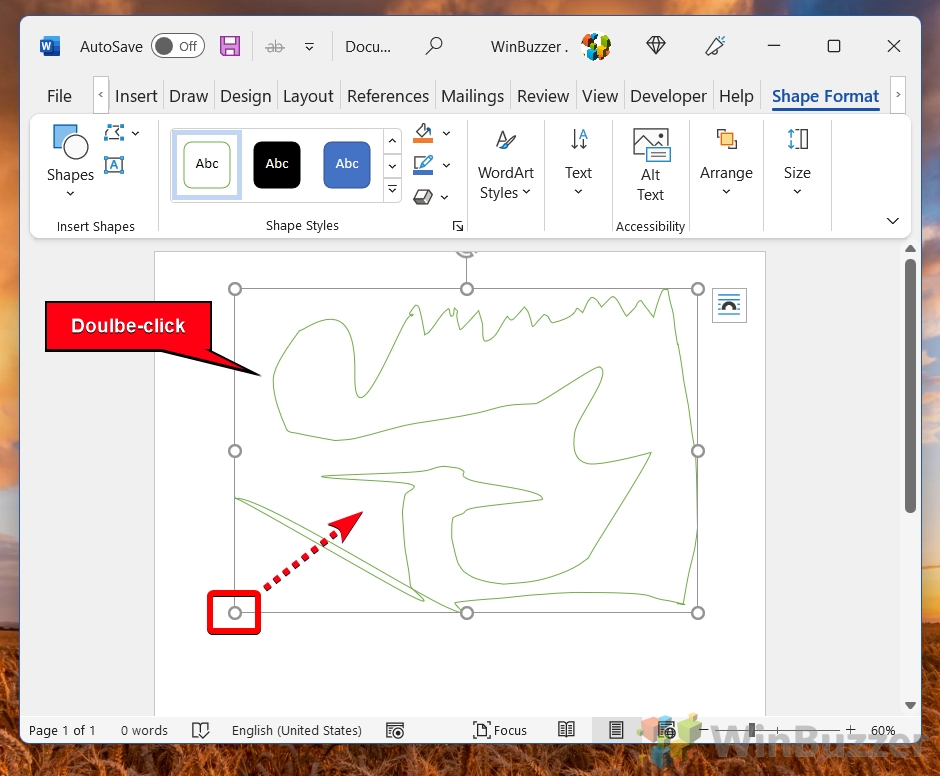
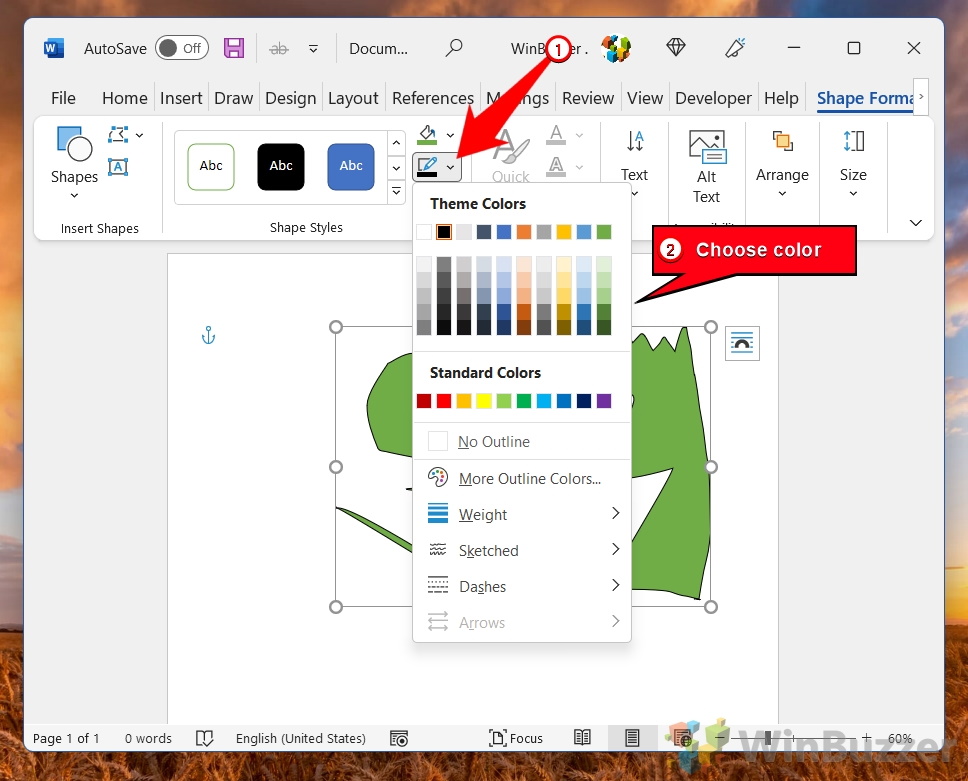
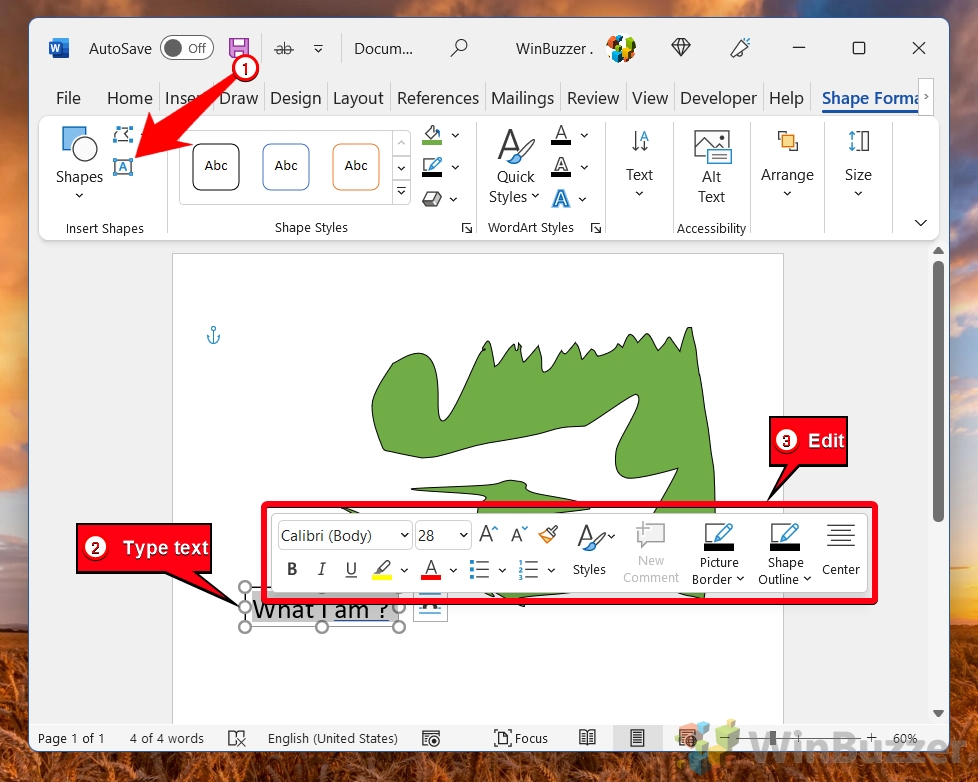
Drawings can add some extra flavor to your documents while remaining suitable for certain audiences. We’re going to show you how to draw on Word documents using two tools: the freehand tool and the shapes tool. Drawings in Word The Shapes tool lets you create illustrations using a variety of preset shapes or its line tool. It’s best suited for those using a keyboard and mouse, as it allows you to get passable drawings without having a steady hand. Freehand drawing in Word is primarily designed for those with touchscreens or tablets. It forgoes shapes for a series of more traditional pens and markers. You can choose whichever of these suits you and follow along below:
How to Draw in Word with the Shapes Tool
How to Draw on a Word Document with the Microsoft Word Drawing Tool
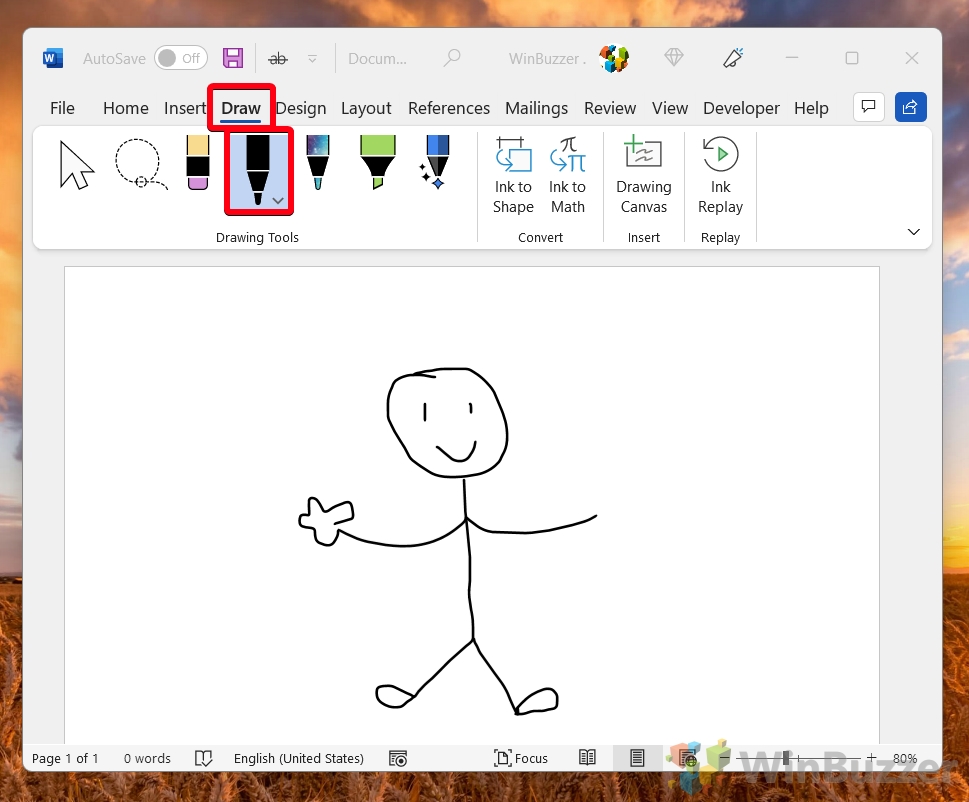
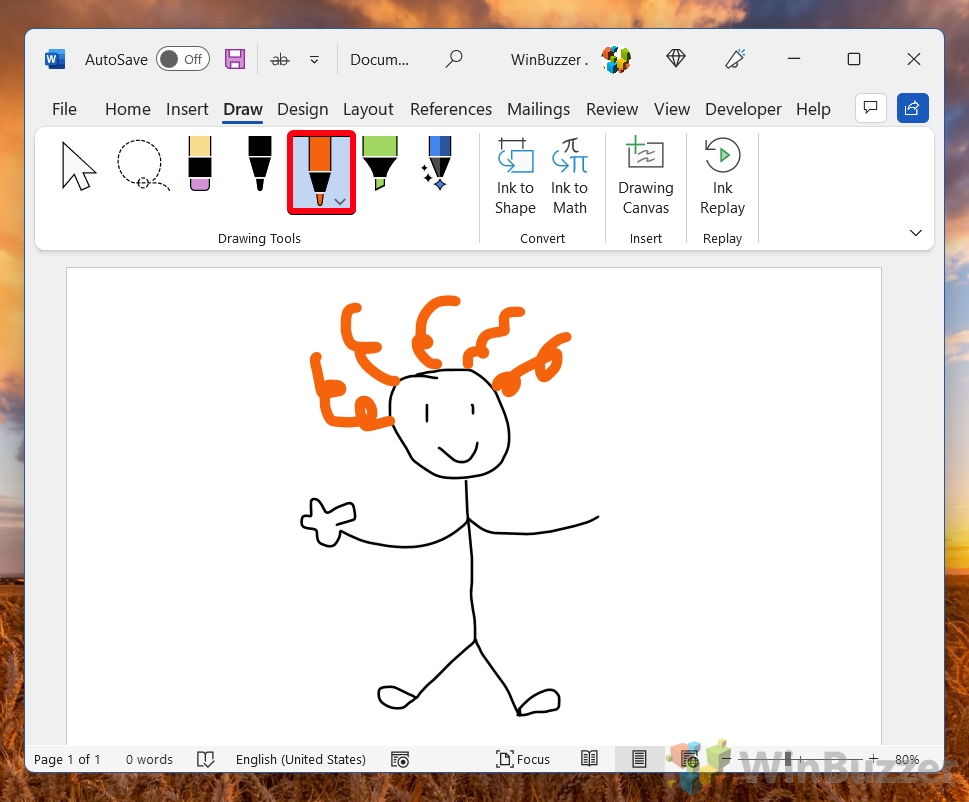
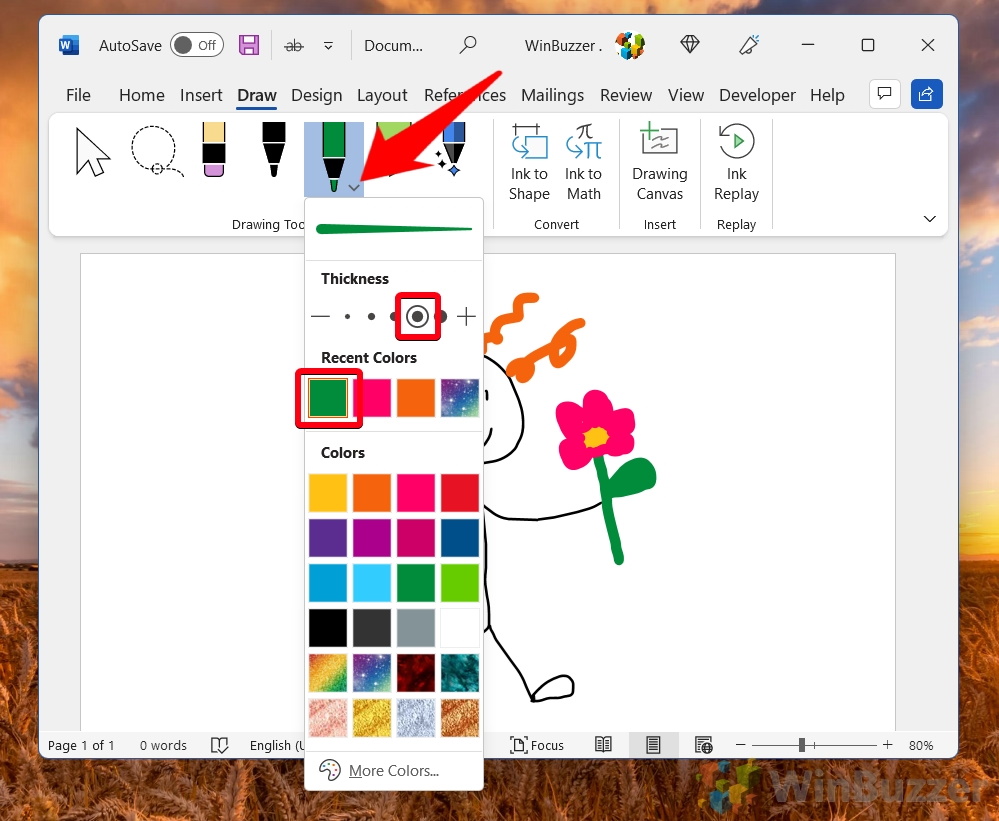
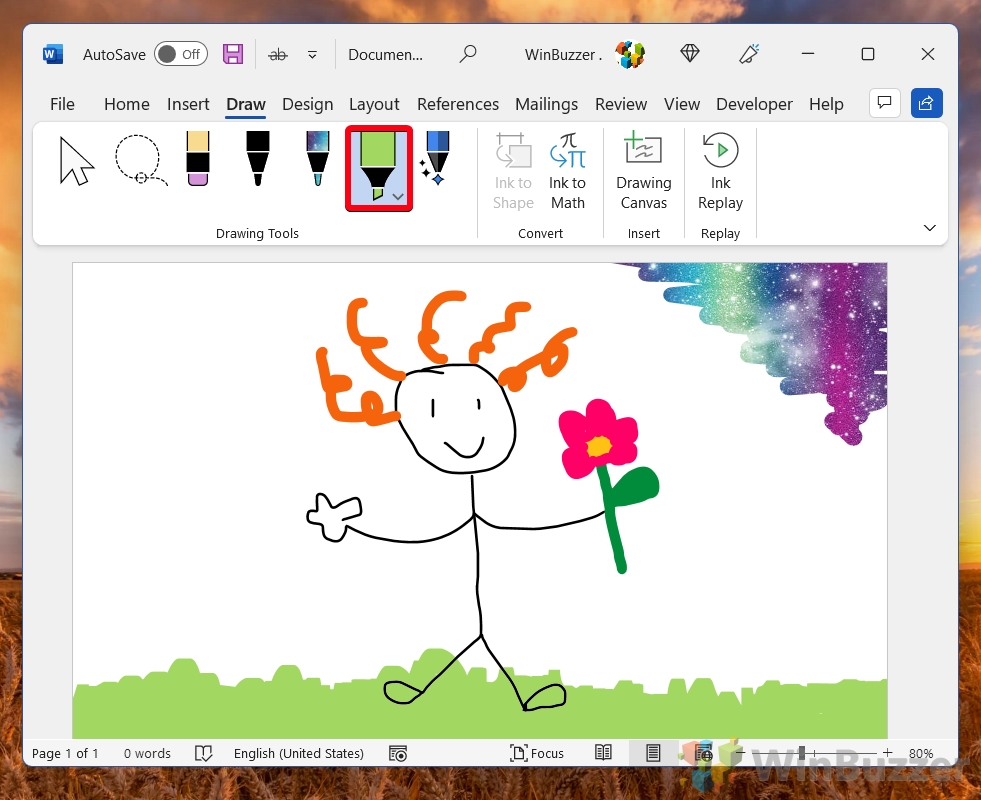
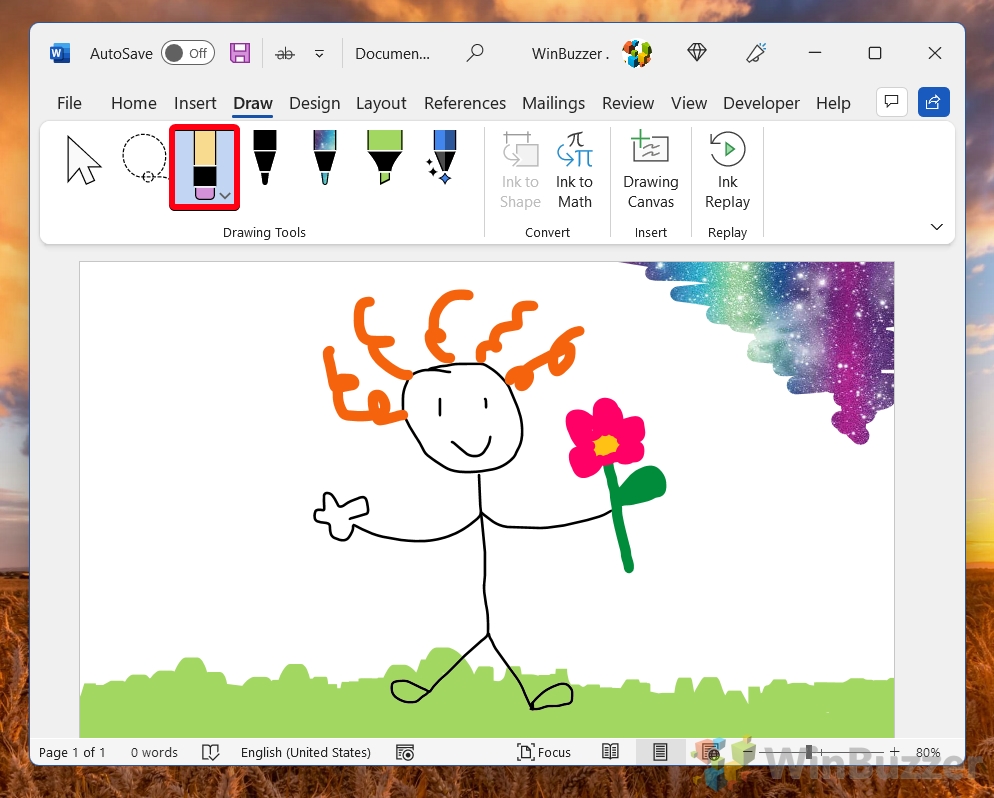
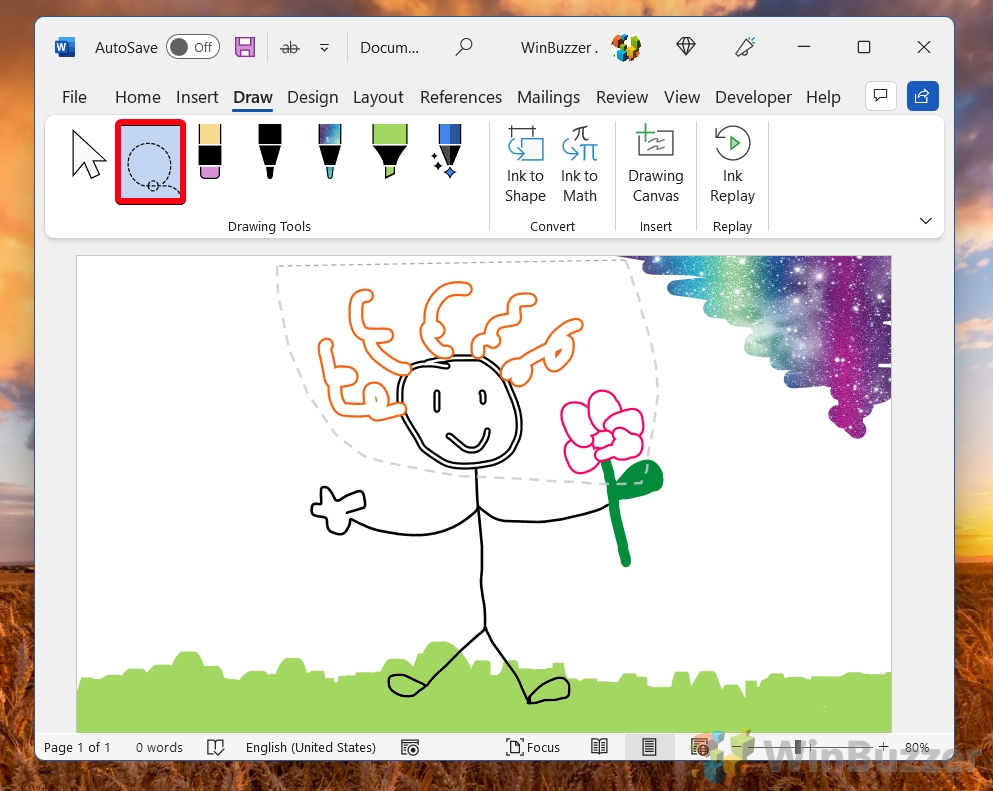
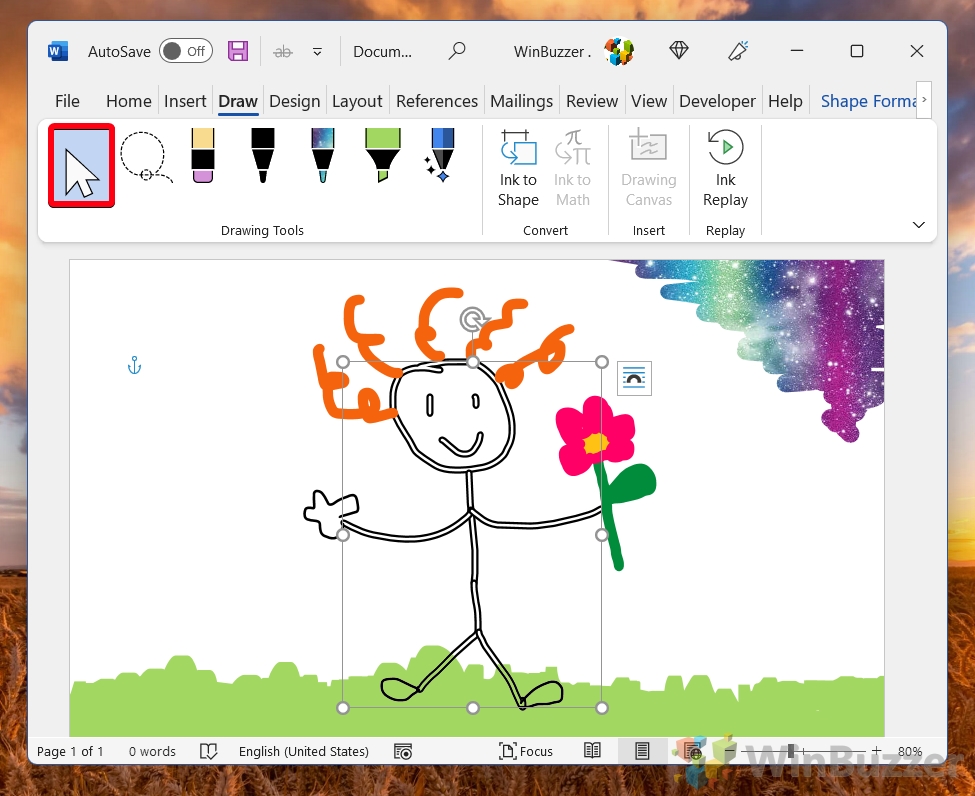
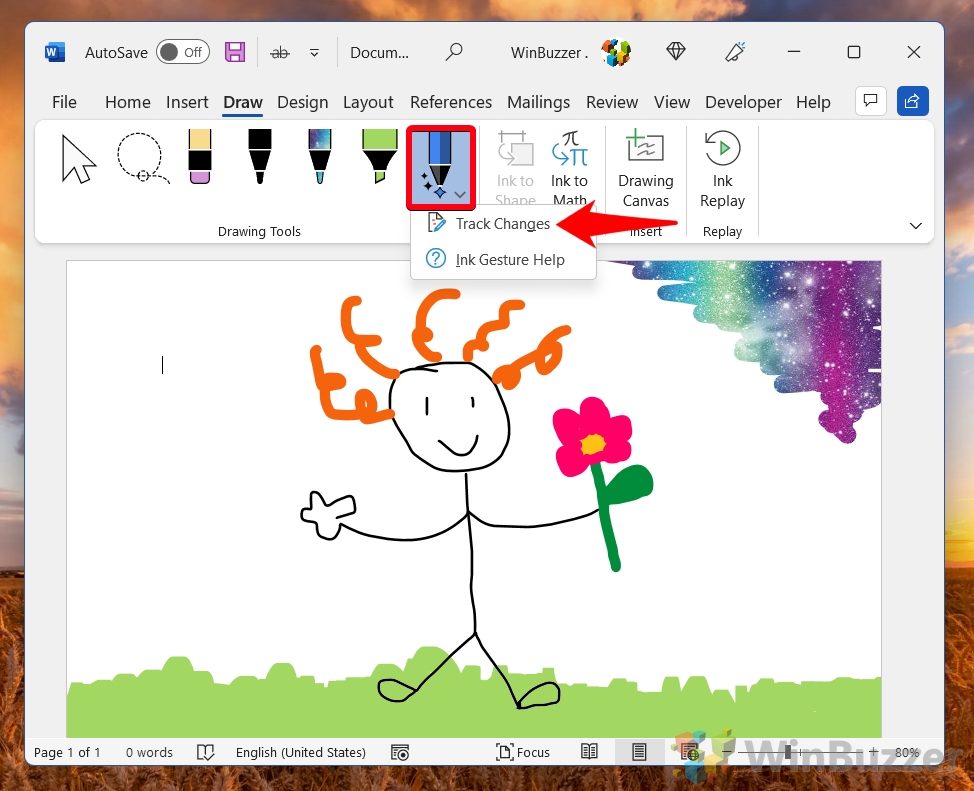
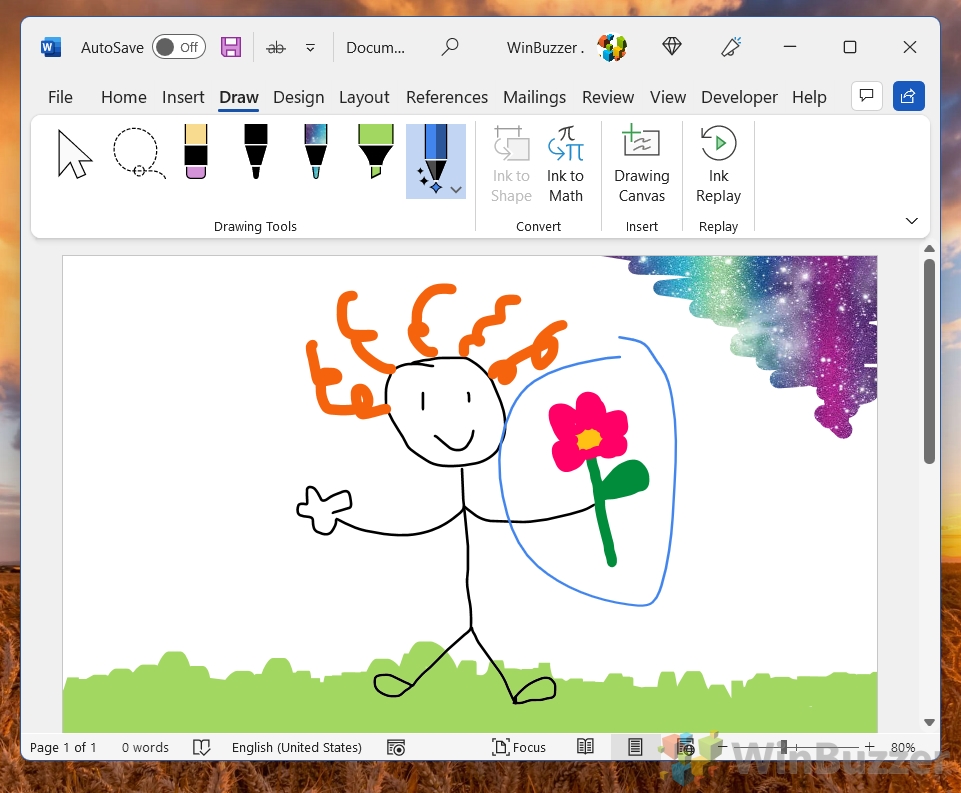
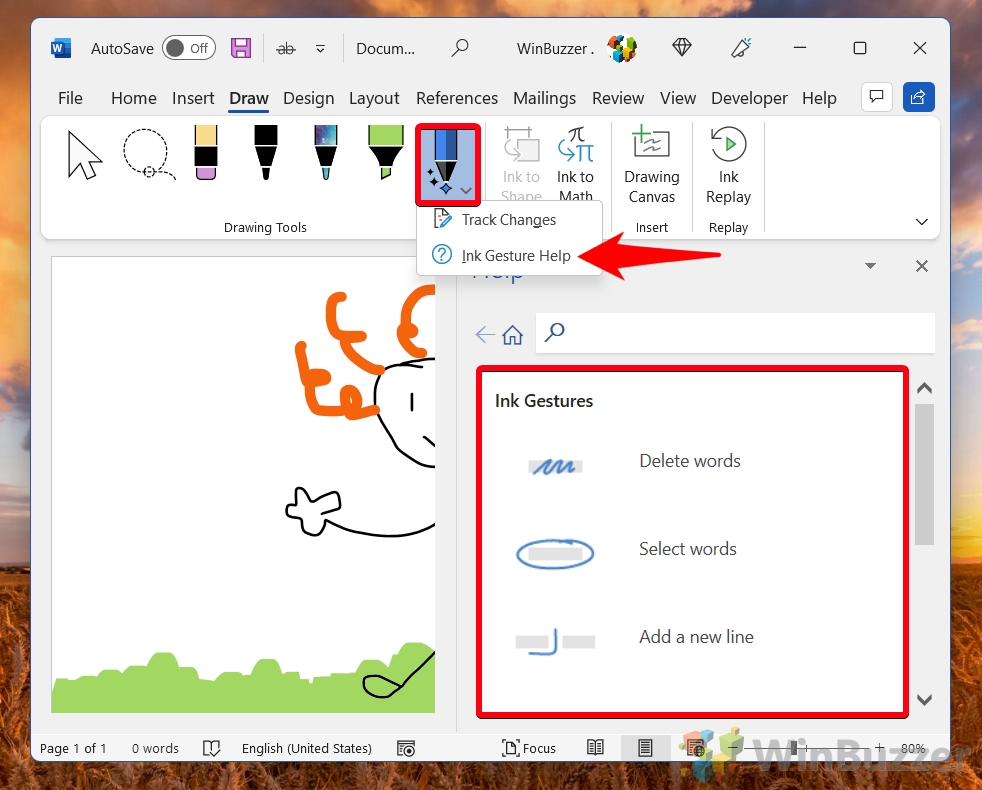
The Microsoft Word drawing tool uses the Microsoft Ink engine for a very competent drawing and annotation experience. It supports advanced features like pressure sensitivity and allows you to choose between a variety of pen/pencil textures for your brush. Here’s how you use it:
Extra: How to Draw on Google Docs
If you prefer to use Google’s text editing tools, drawing gets a bit less intuitive, but it’s still entirely possible. Here’s our existing guide on how to draw on Google Docs.
Extra: How to Annotate Screenshots with Snip and Sketch
You can also take a screenshot and annotate on it directly using Microsoft’s Snip and Sketch tool. Here’s our tutorial on the matter.

